Hey Guys,
I made this twitter app last week. Do check it out. Here are a few screenshots.
Here is the download link….TweetSoft…..Do check it out 🙂
Just download the zip file and extract it. Then run the setup to install TweetSoft 😉
2 Jul
Hey Guys,
I made this twitter app last week. Do check it out. Here are a few screenshots.


Here is the download link….TweetSoft…..Do check it out 🙂
Just download the zip file and extract it. Then run the setup to install TweetSoft 😉
13 May
In this tutorial i am going to show you how to retrieve information about the various disk drives in your sytem.
#So open visual studio 2008 and create a new windows application. (I have named it as HDD)
#Now add a label and a combo box. Change their properties as follows:
For combo box change name to combHDD
Change the name oth the label to SdriveLabel
#You could also add a menu strip and add controls to it as you want. I have added File and Help menu items.
#Now add 14 more labels and change the name properties to the following values:
ModelLabel
SerialLabel
InterfaceLabel
CapacityLabel
PartitionsLabel
SignLabel
FirmLabel
CylinderLabel
SectorsLabel
Blabel
SectLabel
TpcLabel
HeadsLabel
TracksLabel
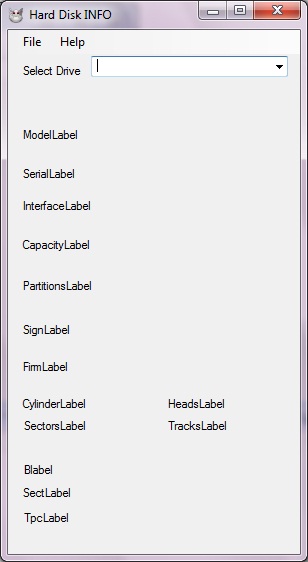
#Now arrange the label as in the figure
#Now double click on the form and add the followind code to Form1_Load event
ManagementObjectSearcher mosDisks = new ManagementObjectSearcher(“SELECT * FROM Win32_DiskDrive”);
foreach (ManagementObject moDisk in mosDisks.Get())
{
combHDD.Items.Add(moDisk[“Model”].ToString());
}
This searches for win32 disk drives on your system and adds them to the combo box.
#Also add this at the top of your code
using System.Management;
#Now from your form view, double click on combo box and add the following code to combHDD_SelectedIndexChanged event
ManagementObjectSearcher mosDisks = new ManagementObjectSearcher(“SELECT * FROM Win32_DiskDrive WHERE Model = ‘” + combHDD.SelectedItem + “‘”);
foreach (ManagementObject moDisk in mosDisks.Get())
{
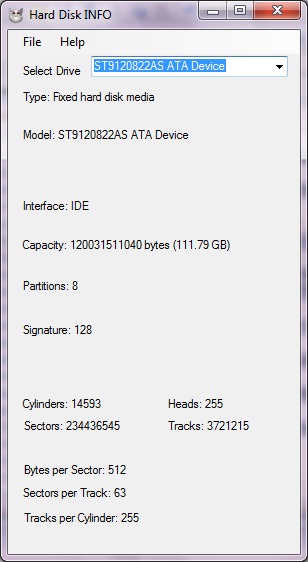
TypeLabel.Text = “Type: ” + moDisk[“MediaType”].ToString();
ModelLabel.Text = “Model: ” + moDisk[“Model”].ToString();
InterfaceLabel.Text = “Interface: ” + moDisk[“InterfaceType”].ToString();
CapacityLabel.Text = “Capacity: ” + moDisk[“Size”].ToString() + ” bytes (” + Math.Round(((((double)Convert.ToDouble(moDisk[“Size”]) / 1024) / 1024) / 1024), 2) + ” GB)”;
PartitionsLabel.Text = “Partitions: ” + moDisk[“Partitions”].ToString();
SignLabel.Text = “Signature: ” + moDisk[“Signature”].ToString();
CylinderLabel.Text = “Cylinders: ” + moDisk[“TotalCylinders”].ToString();
SectorsLabel.Text = “Sectors: ” + moDisk[“TotalSectors”].ToString();
HeadsLabel.Text = “Heads: ” + moDisk[“TotalHeads”].ToString();
TracksLabel.Text = “Tracks: ” + moDisk[“TotalTracks”].ToString();
Blabel.Text = “Bytes per Sector: ” + moDisk[“BytesPerSector”].ToString();
SectLabel.Text = “Sectors per Track: ” + moDisk[“SectorsPerTrack”].ToString();
TpcLabel.Text = “Tracks per Cylinder: ” + moDisk[“TracksPerCylinder”].ToString();
}
This selects the drive selected and displays all the properties of it(in 14 labels) using ManagementObjectSearcher class.
#Now press f5 to run your application. Select a drive and you will see something as follows
16 Apr
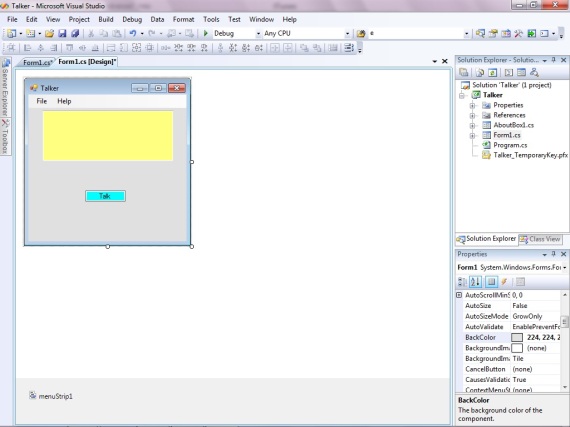
Open VS2008…
# Create new windows form project (I have named it talker here).
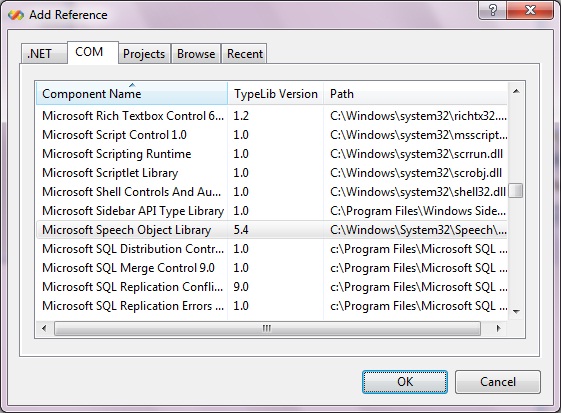
# Now right click on your Project(Talker in this case) and select add reference.
# Now under COM select Microsoft Speech Object Library and press Ok.
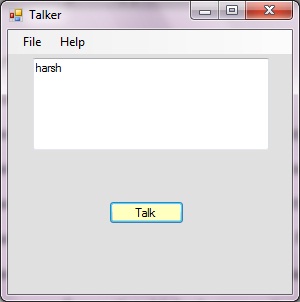
#Now in your win form add 1 menu strip,1 text box and 1 Button(change text property to Talk).
# Now in the menu strip add 2 menus File and Help.Under file add exit.
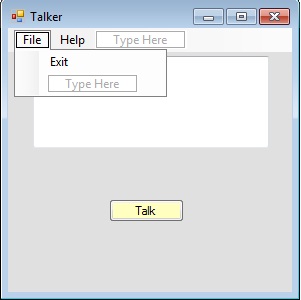
# Now in the properties of TextBox change the MultiLine property to true.
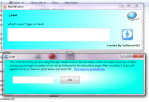
# Now your form should look somewhat like this.
# Lets add functionality to our form.
# Double click on exit menu in your menu strip.
Now add the following code in the click event handler.
this.Close();
# Now add this at the top of your code
using SpeechLib;
# Now double click on the Talk button in your design. Add the following code
SpVoice voice = new SpVoice(); voice.Speak(textBox1.Text,SpeechVoiceSpeakFlags.SVSFDefault);
# You can add anything you like in the Help menu strip. item. I have added the following
MessageBox.Show(“Just enter the text and press talk”);
# Now press F5 and enter any text and press talk. You will hear your system speaking out the text you entered.
Download the source files here
22 Mar
In this tutorial i am going to show you how to create a web form and pass values from one page to another using query strings. So lets get started:
# Open Visual Studio 2008.
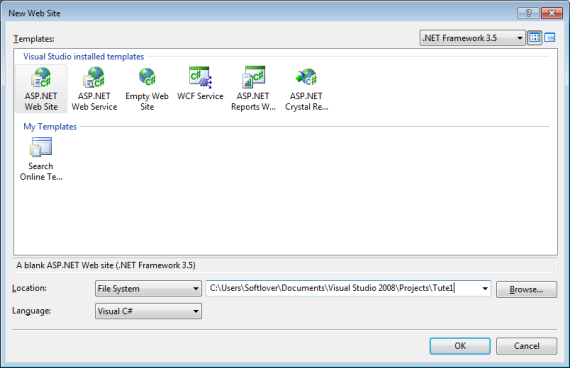
# Open file->new website. Now Click browse .Select local file system and at an appropriate location create a website Tute1 and choose language as C# as shown below:
# Now in the solution explorer you will see Default.aspx . Open it and switch to the design view.
# Add 2 textboxes and 2 labels from the toolbar
# Select first label and change the following properties in the properties window:
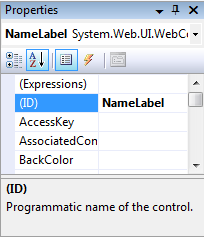
Text : Name
Id: NameLabel
# Now Select second label and change the following properties:
Text: Age
Id: AgeLabel
# Similarly select the 2 TextBoxes and change there Id’s to NameTextBox and AgeTextBox respectively.
# Now add a button to the form and in the properties window change it’s Id to SubmitButton and Text to Submit.
# Arrange them so that it looks something like this.
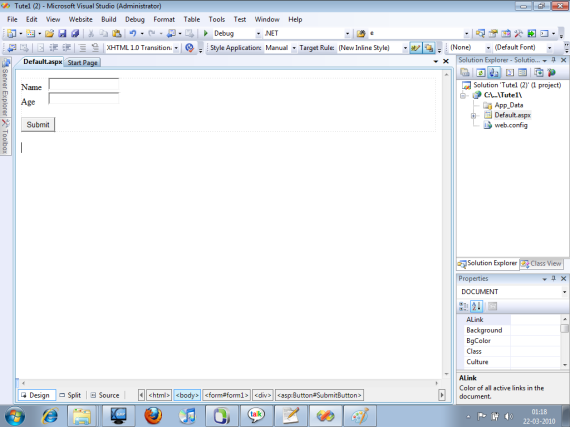
# Now double click on the submit button . This opens up the code behind file for you. Now in SubmitButton_Click function add the following code
string name = NameTextBox.Text;
string age = AgeTextBox.Text;
Response.Redirect(“~//Page2.apx?name=” + name + “&&age=” + age);
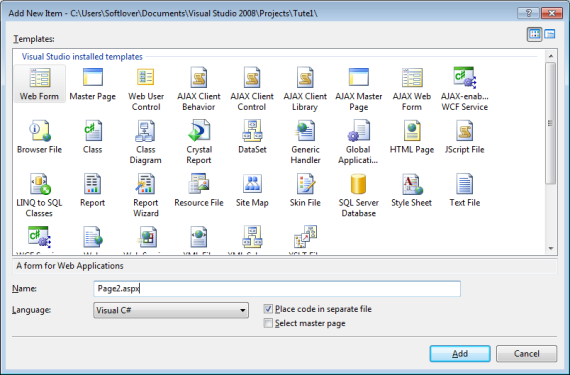
# Now go to solution explorer and right click on the website to aad a new item.Select a webform and name it Page2.aspx
# Now in page2 add two labels and change their Ids to NameLabel and AgeLabel respectively.
# Now double click on the the form. This opens up Page_Load method of Page2.
# Now add the following Code
NameLabel.Text = Request.QueryString[“name”].ToString();
AgeLabel.Text = Request.QueryString[“age”].ToString();
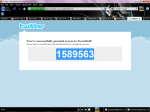
# Now run the default.aspx by pressing CTRL+F5. Enter Name and age.
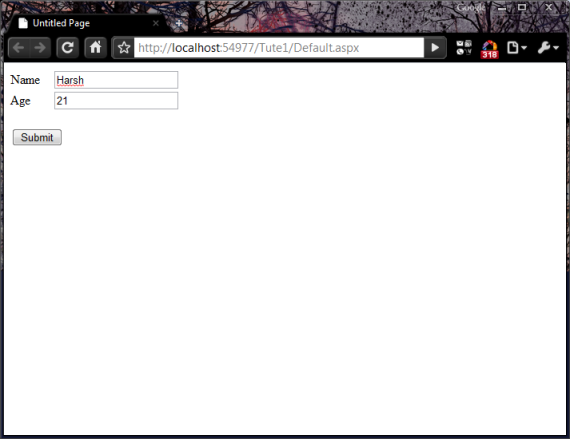
# Press submit.
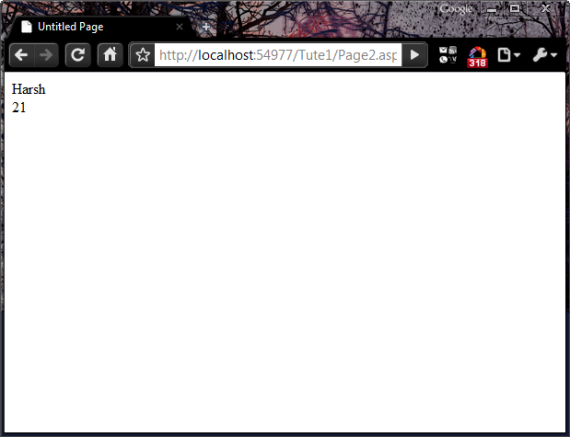
# Now you see that Page 2 shows you the name and age.
Click here to download source files
20 Feb
When i asked my friend about what should i write for my first C# tutorial, he told me to start with installation n all. But i didn’t like it as installation tuturial are found everywhere. I was thinking what should i write that is simple but still interesting than those hello world programs. I was looking at my old works(probably 1 to 1.5 years old) when i found out this getHTML app.
So, lets begin(remember this application requires an internet connection)
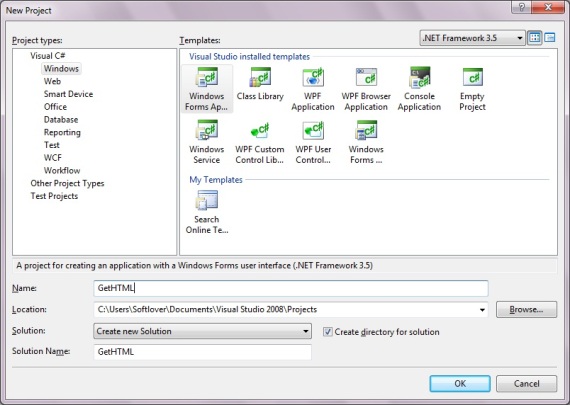
=>Open Visual Studio 2008, Select File->New->Project. Under visual C# tab select windows forms application and name the project GetHTML as shown in figure.
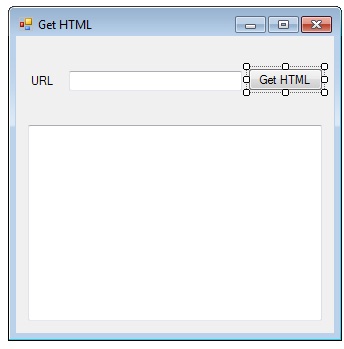
=>A form designer will open. From the toolbox tab drag and drop a button ,2 textboxes and a label on to the form.
=>Select the button and open it’s properties(by right clicking).In the properties tab change the following properties the given values
Name:GetHTMLButton
Text:Get HTML
=>Now select the label and change the following properties
Name:URLLabel
Text:URL
=>Then select a text box and change it’s properties to
Name:URLTextBox
=>Then select the other text box and change it’s properties to
Name:HTMLTextBox
Multiline:true
Scrollbars:vertical
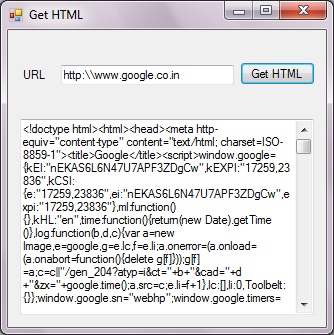
=>Now arrange them as shown in figure
=> Now in the designer double click on the GetHTMLButton
This will open up the code and will create a GetHTMLButton_Click event handler.
Now go to the top of the code and add these 2 lines:
using System.IO;
using System.Net;
=>Now in the GetHTMLButton_Click method add the following code:
WebRequest req = WebRequest.Create(URLTextBox.Text);
WebResponse resp = req.GetResponse();
StreamReader read = new StreamReader(resp.GetResponseStream(), Encoding.ASCII);
HTMLTextBox.Text = read.ReadToEnd();
Here we are using the System.Net.WebRequest and System.Net.WebResponse classes to send and recieve request from the URL entered by the user. Then we use the Sysyem.IO.StreamReader class object to read the response recieved and display it in HTMLTextBox.
Now run the program or press CTRL+F5
Enter a URL in the URLTextBox and wait for few seconds, the HTMLTextBox will show you the entire HTML content